How to Change Mouse DPI: DPI Buttons, Mouse Software and Windows Settings
Change mouse DPI with the DPI button or the maker's software (Logitech G HUB, Razer Synapse), or adjust Windows pointer speed if your mouse has no DPI setting.
By PC MomentUpdated 6 min read
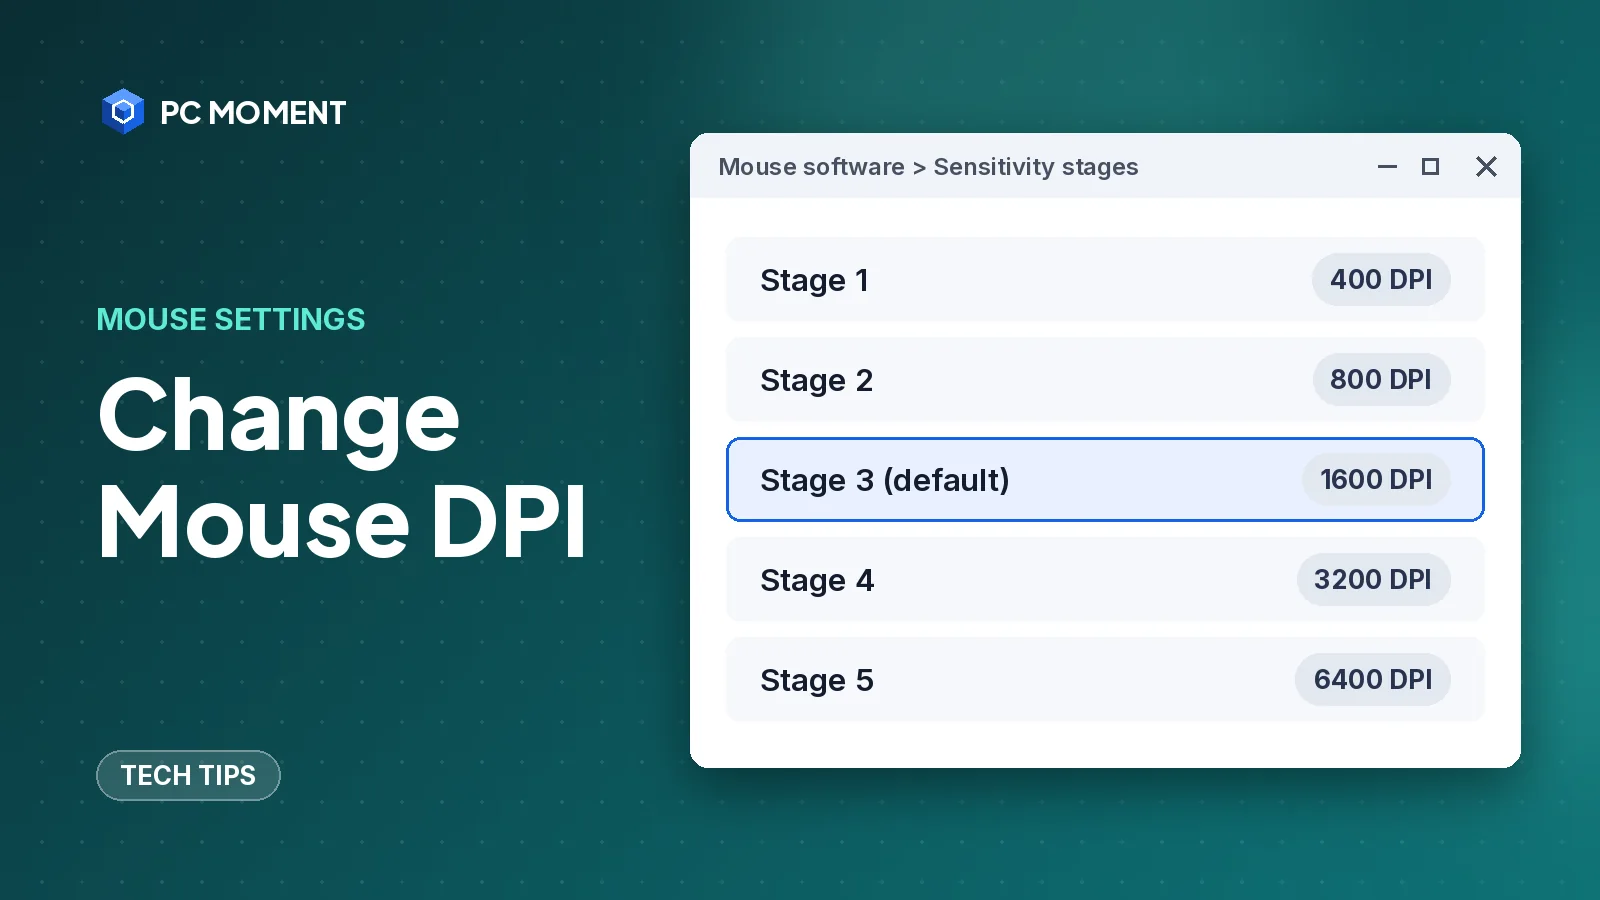
To change your mouse DPI, press the DPI button on the mouse, if it has one, or open the mouse maker’s app, such as Logitech G HUB or Razer Synapse, and move the sensitivity slider. Windows itself can’t change DPI. If your mouse has no DPI button or software, adjust Mouse pointer speed in Windows Settings instead.
DPI is a setting inside the mouse, so the way you change it depends on who made the mouse. Below are the methods documented by Logitech and Razer, followed by the Windows settings that work with any mouse.
What DPI is, and how it differs from pointer speed
DPI (dots per inch) is the mouse’s sensitivity. Razer’s mouse guide describes sensitivity as the distance the cursor travels based on how far the mouse moves: the higher the DPI, the farther the cursor travels for the same hand movement.
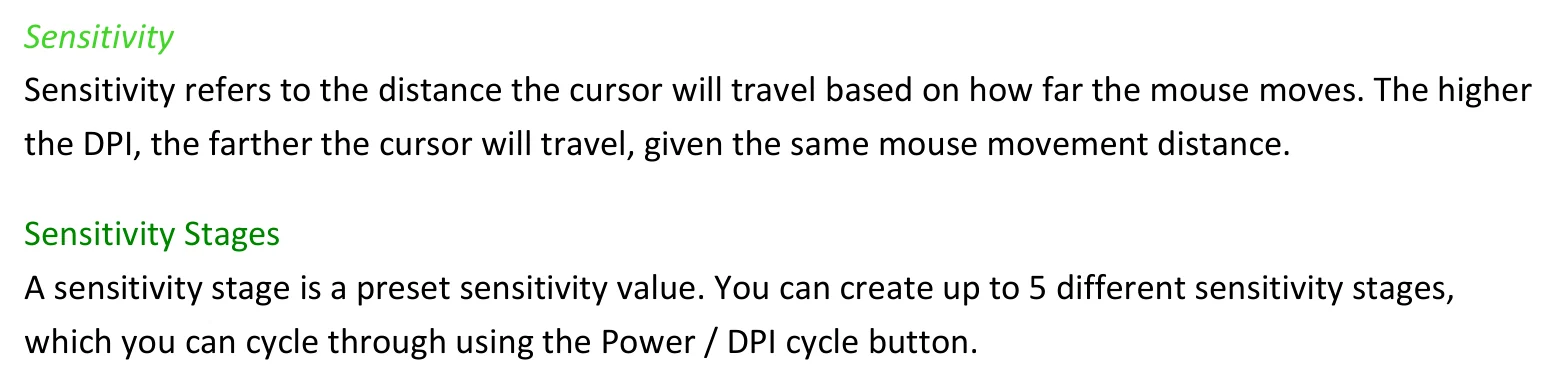
Pointer speed is a Windows setting that changes how far the cursor moves on screen, whatever the mouse sends. Both make the cursor feel faster or slower, but they’re set in different places:
| Setting | Where you change it | Works with |
|---|---|---|
| DPI | DPI button on the mouse, or the maker’s software | Mice that support adjustable DPI |
| Mouse pointer speed | Windows Settings | Any mouse or touchpad |
| Enhance pointer precision | Windows Settings | Any mouse |
| Sensitivity stages / DPI speeds | Maker’s software | Gaming mice with DPI presets |
Most office mice have a fixed DPI. Gaming mice usually let you switch between several preset DPI levels, often called stages or DPI speeds.
Method 1: Use the DPI button on the mouse
Many gaming mice have a button that cycles through preset DPI levels. Press it once to move to the next level.
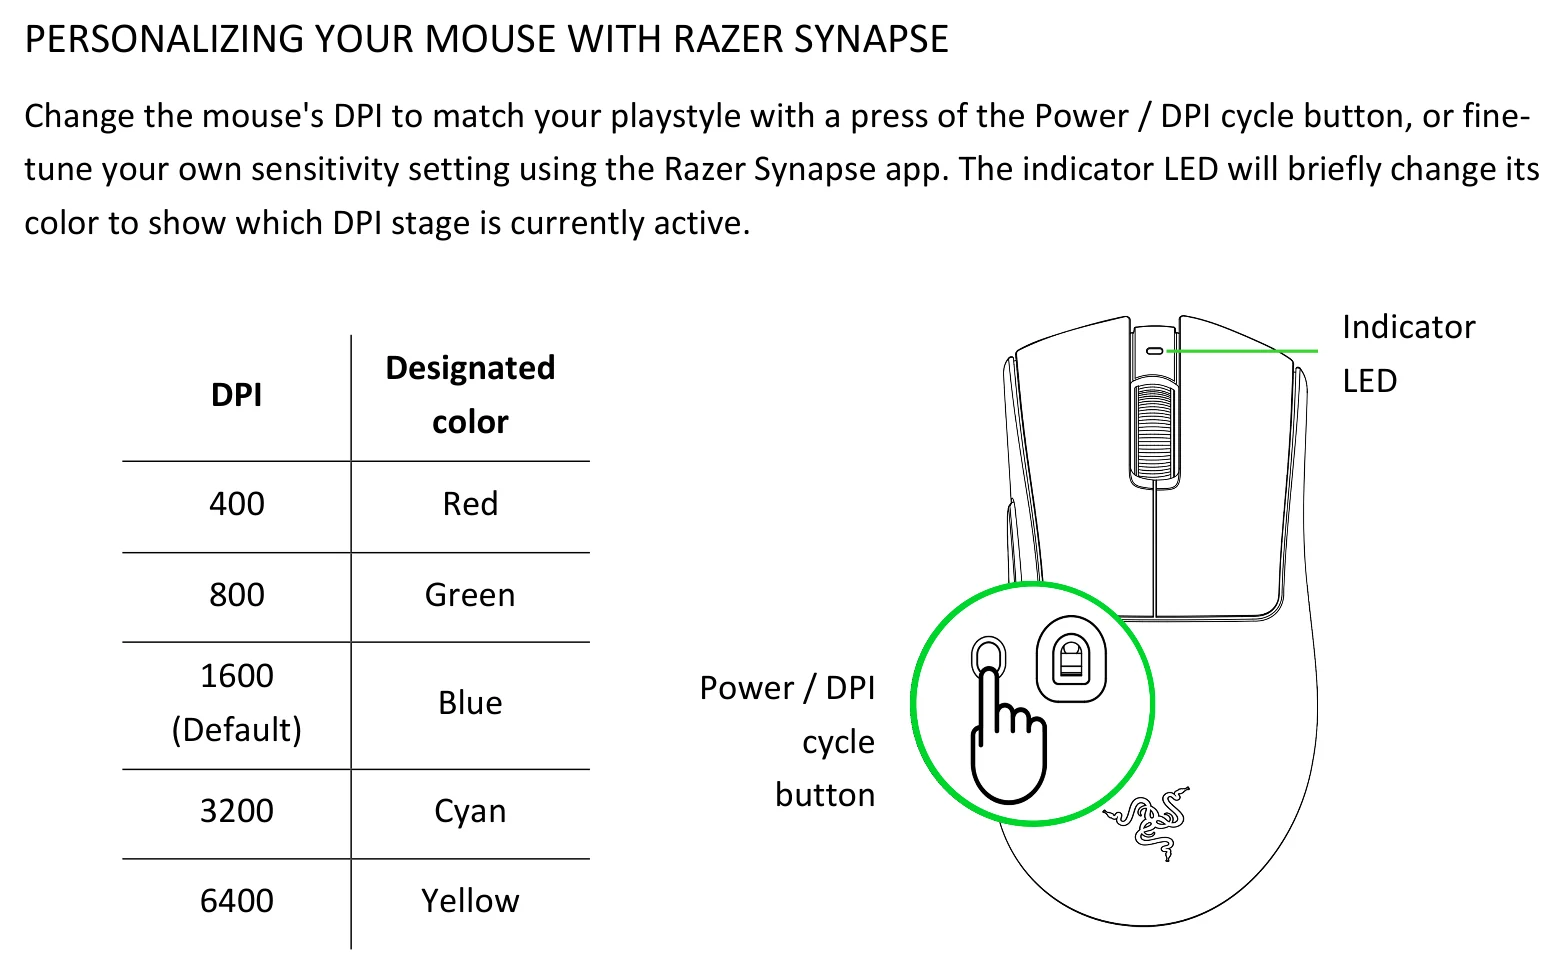
For example, Razer’s guide for the DeathAdder V3 HyperSpeed lists five default stages on its Power / DPI cycle button:
- 400 DPI
- 800 DPI
- 1600 DPI (the default)
- 3200 DPI
- 6400 DPI
The mouse’s indicator LED briefly changes color to show which stage is active, and the stages can be customized in Razer Synapse. Other models and brands use different defaults and indicators, so check the guide for your exact mouse.
Tip: If you don’t know where the DPI button is, search your mouse model’s name plus “manual” on the maker’s support site. Button layouts vary even within one brand.
Method 2: Logitech G HUB (Logitech G gaming mice)
Quick change:
- Open G HUB.
- Select your mouse in the main window.
- Move the sensitivity slider, or select one of the preset DPI speeds.
Add or remove DPI speeds:
- In G HUB, select the profile you want to change. Each profile can have its own DPI speeds, and you can switch profiles from the drop-down in the top-left corner.
- Click your mouse, then click the Sensitivity (DPI) tab.
- To add a speed, click anywhere on the slider. You can have up to 5 DPI speeds.
- To remove a speed, click and hold the dot next to it, drag it down and release.
Logitech notes that you can remove every DPI speed except the DPI Shift speed.
Method 3: Razer Synapse (Razer mice)
Razer’s DeathAdder V3 HyperSpeed guide describes these steps in Synapse:
- Open Razer Synapse and select your mouse.
- On the Mouse tab, open the Performance subtab. This is where sensitivity, acceleration and polling rate live.
- Under Sensitivity Stages, set up to 5 stages. Each stage is a preset DPI value you can cycle through with the DPI button.
- To use different sensitivity for horizontal and vertical movement, turn on Enable X-Y. By default, both axes use the same value.
Synapse can also assign DPI functions to other buttons on the Customize subtab, such as Sensitivity Stage Up, Sensitivity Stage Down or Sensitivity Clutch, which switches to a set DPI only while you hold the button.
Menu names can differ between Synapse versions and mouse models. If yours looks different, Razer’s master guide for your model has the current layout.
Other brands: Corsair mice use the iCUE app, and most other gaming brands have their own software. Look for a DPI or Sensitivity section in that app, and follow the maker’s guide for your model.
Method 4: Change pointer speed in Windows (any mouse)
If your mouse has no DPI button or app, or you want to fine-tune the speed after setting DPI, use Windows.
Windows 11:
- Select Start > Settings > Bluetooth & devices > Mouse.
- Move the Mouse pointer speed slider.
Windows 10:
- Select Start > Settings > Devices > Mouse.
- Move the Cursor speed slider.
Not sure which one you have? Our guide on how to check your Windows version takes a few seconds.
Enhance pointer precision
Windows has a separate Enhance pointer precision option that changes how pointer movement is handled. If the cursor feels inconsistent after you change DPI, try it both ways and keep the one you prefer.
- Windows 11: In Settings > Bluetooth & devices > Mouse, use the Enhance pointer precision switch.
- Windows 10: In Settings > Devices > Mouse, select Additional mouse options under Related settings. In Mouse Properties, open the Pointer Options tab, check or clear Enhance pointer precision under Motion, then select OK.
Note: If you use both a high DPI and a high Windows pointer speed, small hand movements can send the cursor flying. Change one setting at a time so you know which one made the difference.
If your mouse doesn’t support DPI changes
Free first: try Windows pointer speed (Method 4). For most everyday work, that’s enough.
If you want switchable DPI levels, for example for gaming or for moving between a laptop screen and a large monitor, you need a mouse that supports it. Look for a mouse with a DPI button and check that the maker offers software or onboard memory for the settings you care about.
If changing DPI doesn’t work
- The DPI button does nothing. The button cycles through the stages or DPI speeds set up in the software. Open G HUB or Synapse and check that more than one is set up, and that the button hasn’t been reassigned to another function.
- Settings reset when the software closes. In G HUB, check that you changed the profile you’re actually using; each profile has its own DPI speeds. For other brands, look for an onboard memory option in the maker’s guide.
- The app doesn’t see your mouse. Update the app, plug the mouse straight into the PC rather than a hub, and try another port.
- The cursor is still too fast or slow. Lower or raise Windows Mouse pointer speed after setting the DPI.
- Only one app feels wrong. Many games have their own sensitivity setting that applies on top of DPI; check the game’s mouse options.
For more help with everyday PC problems, see our computer repair tips, or browse more how-tos in Tech Tips.
Frequently asked questions
Can I change mouse DPI in Windows settings?
Not directly. DPI is set in the mouse itself, with its DPI button or the maker's software. Windows Settings only changes the pointer speed, which changes how far the cursor moves but not the mouse's DPI.
What does DPI mean on a mouse?
DPI (dots per inch) is the mouse's sensitivity. Razer describes it as how far the cursor travels for a given mouse movement: the higher the DPI, the farther the cursor moves.
How do I know what DPI my mouse is on?
Open the mouse maker's software, such as Logitech G HUB or Razer Synapse, which shows the current DPI. Some mice also show the active stage with an indicator light, for example a different LED color per stage.
Do I need the software running to keep my DPI setting?
It depends on the mouse. Mice with onboard memory can store settings on the mouse itself; check your model's guide. Logitech's G HUB lets you set different DPI speeds per profile.
What DPI should I use?
There's no single right number. Pick the setting where you can reach the edges of your screen comfortably and still point accurately, then fine-tune with Windows pointer speed if needed.
Related guides
Tech Tips
How to Get Into BIOS on Windows 11 (Settings, Command and Boot Keys)
Open BIOS/UEFI on Windows 11 three ways: from Settings, with one command, or with your PC maker's boot key. Plus a fix for when fast startup gets in the way.
7 min read
Tech Tips
How to Speed Up Windows 11: 12 Safe Tweaks That Actually Help
Make Windows 11 faster with built-in tools: updates, startup apps, Storage Sense, power mode and visual effects, plus when an SSD upgrade is worth it.
7 min read
Tech Tips
How to Split Screen on Chromebook: Shortcuts, Snap Groups and Tablet Mode
Press Alt + [ or Alt + ] to snap a Chromebook window to half the screen. Here's how to drag, use Partial split, Snap Groups and split screen in tablet mode.
6 min read
Tech Tips
How to Split Screen on iPad: iPadOS 26 and 27 vs. Older Split View
Put two apps side by side on iPad with the new windowed apps in iPadOS 26 and 27, or with the three-dot Split View button in iPadOS 17 and 18.
7 min read